3D Scanning Process
-
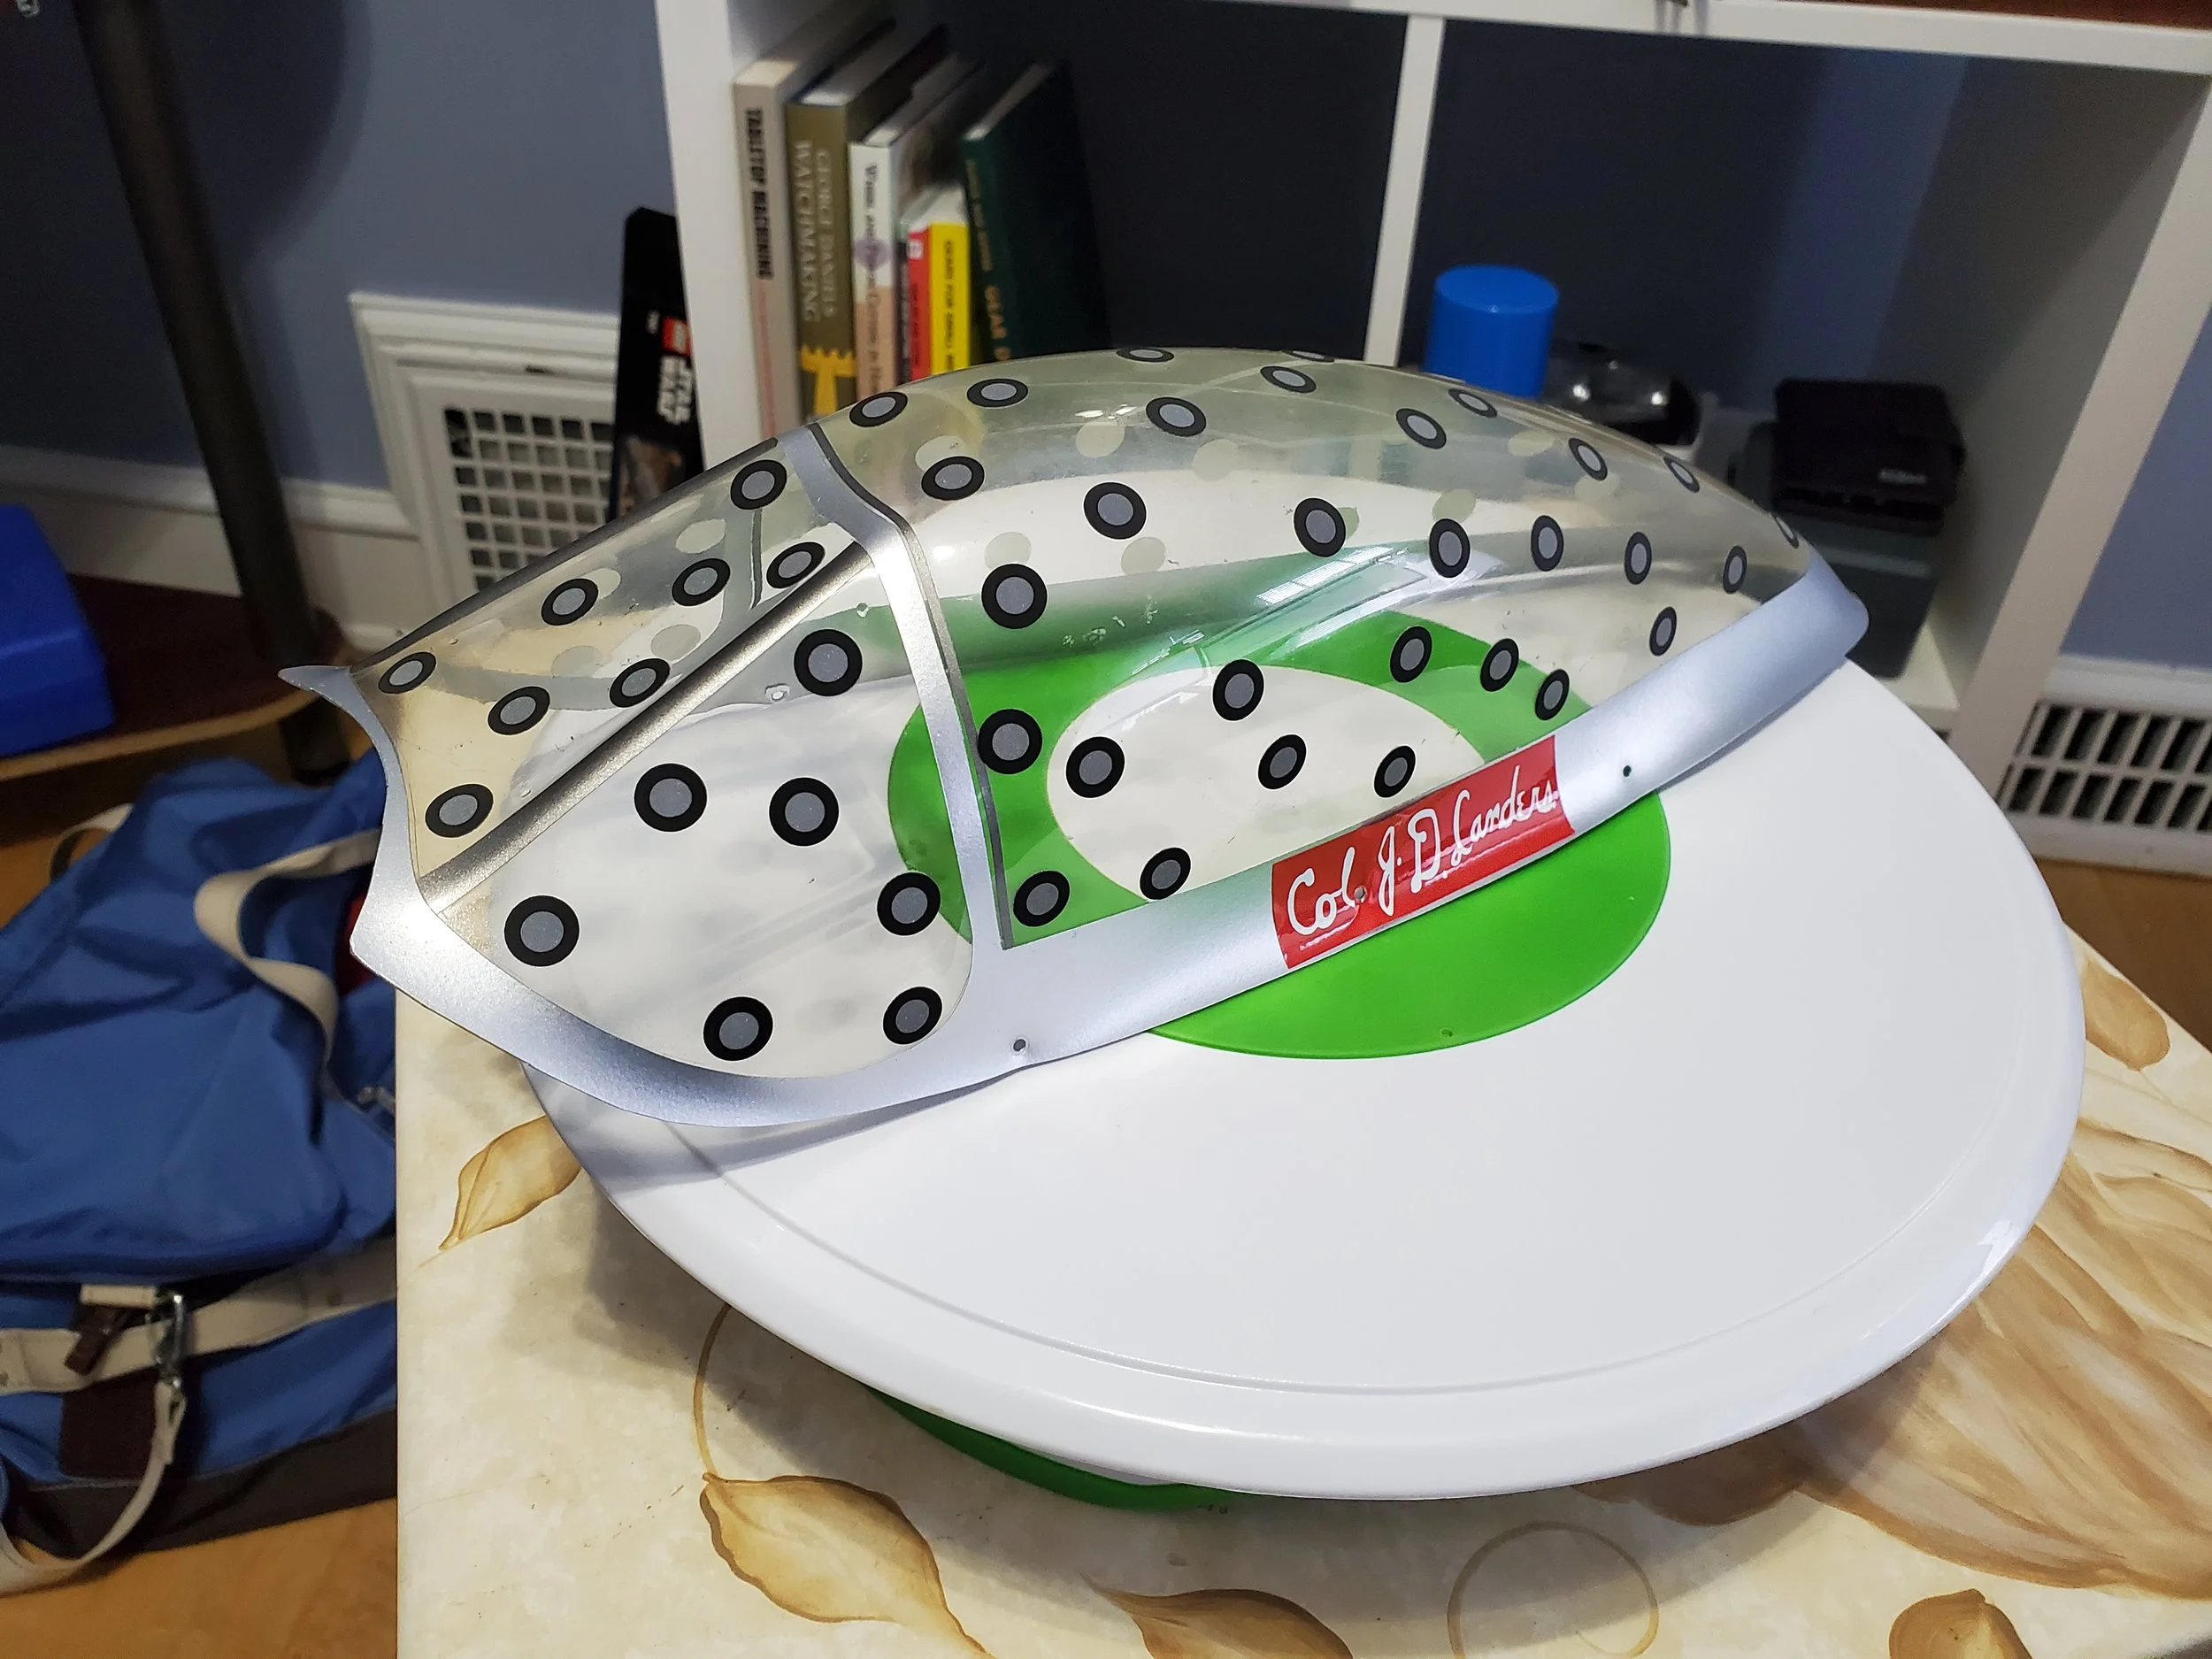
Step 1A) Apply Reflective Decals
On clear or highly reflective surfaces, it is usually necessary to apply reflective decals at random over the surface.
-

Step 1B) If necessary add texture
The surface is coated with a non-destructive texturizing spray that disappears within hours or can be washed away.
-
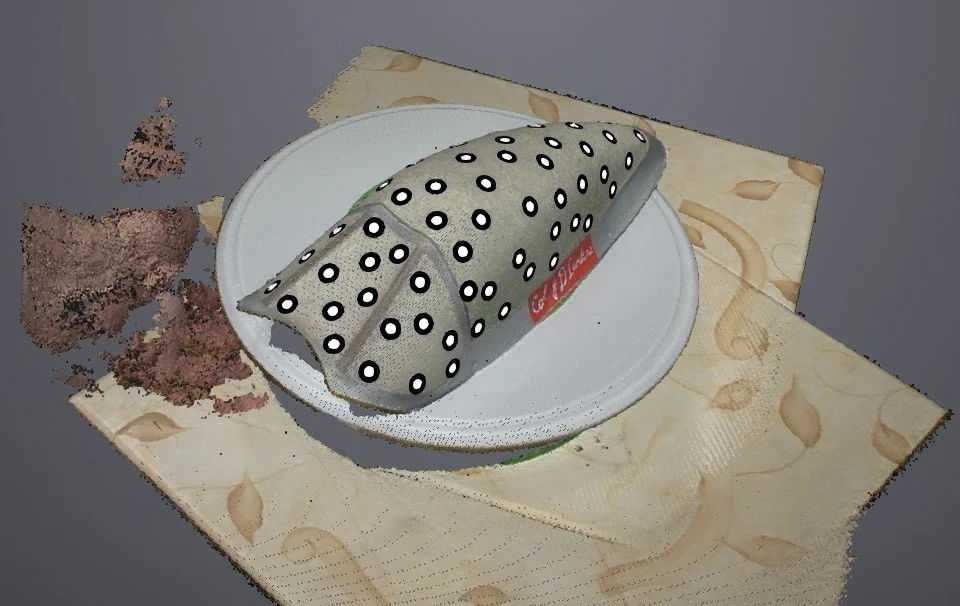
Step 1) Rough Initial Scan
This is what it looks like after initial the initial scan, including all the extra items not needed for the surface.
-
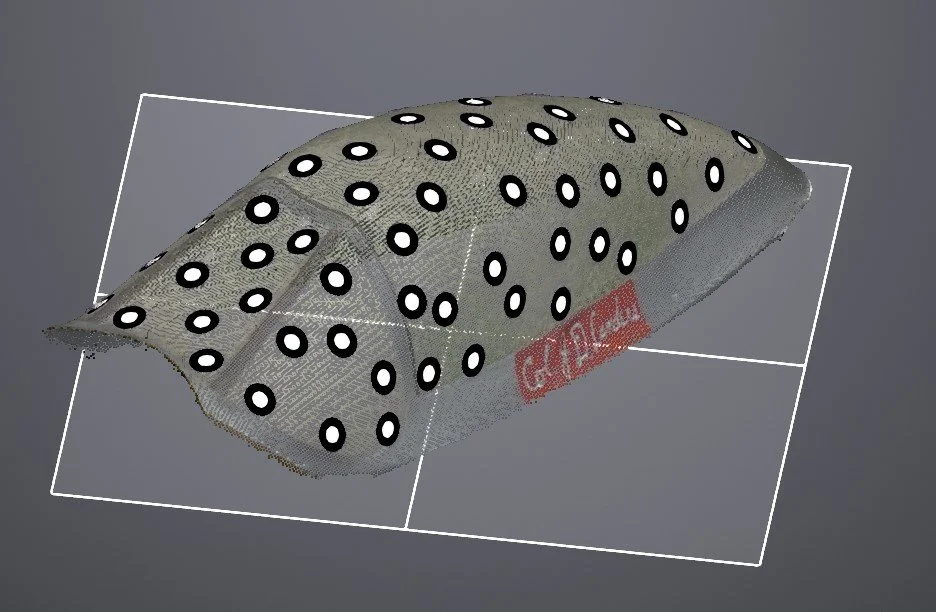
Step 2) Cleaned Scan
The scan is the "cleaned" by removing all unwanted scanned points leaving only desired points to create a point cloud. If needed multiple scans can be made and joined together.
-
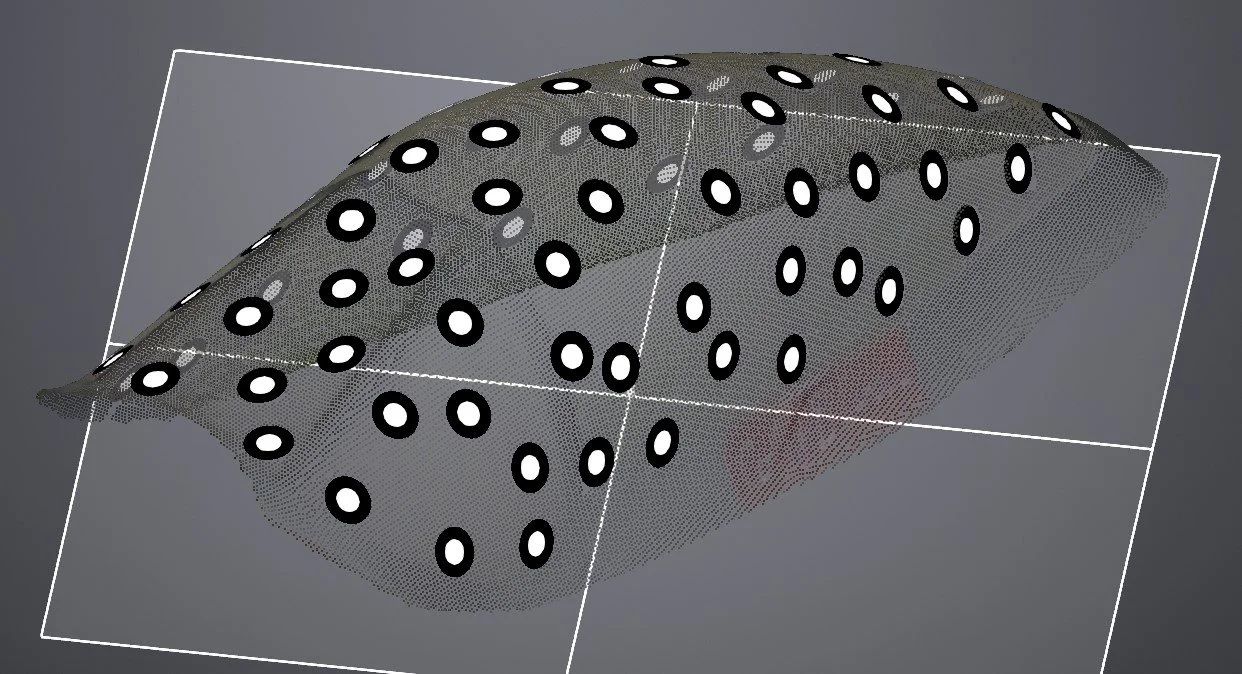
Step 3) Point Cloud Generation
The software converts the cleaned scanned data into a point cloud.
-
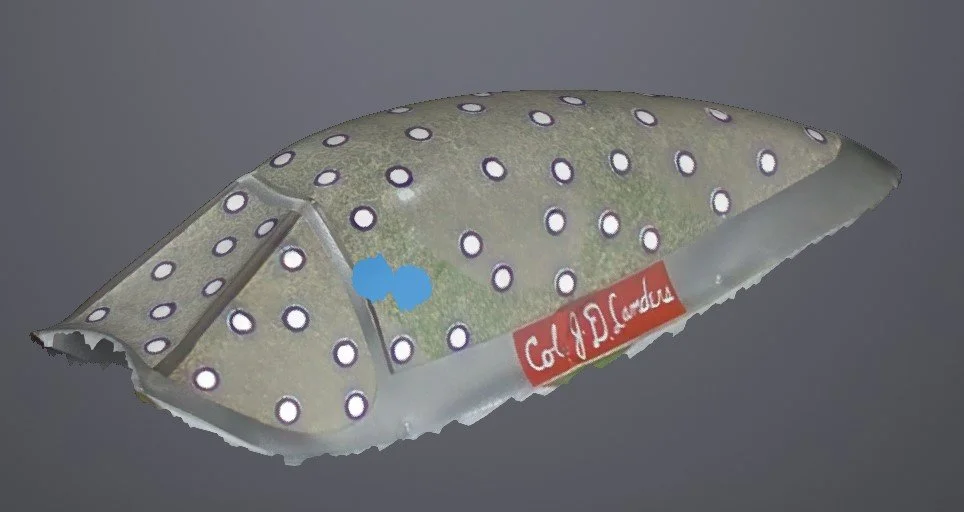
Step 4A) Triangular Mesh with Texture
The software will convert, through various filter selections, the point cloud into a triangular mesh. Patches can easily be applied manually. In this case with the surface texture mapping. Ready for use in other CAD packages.
-
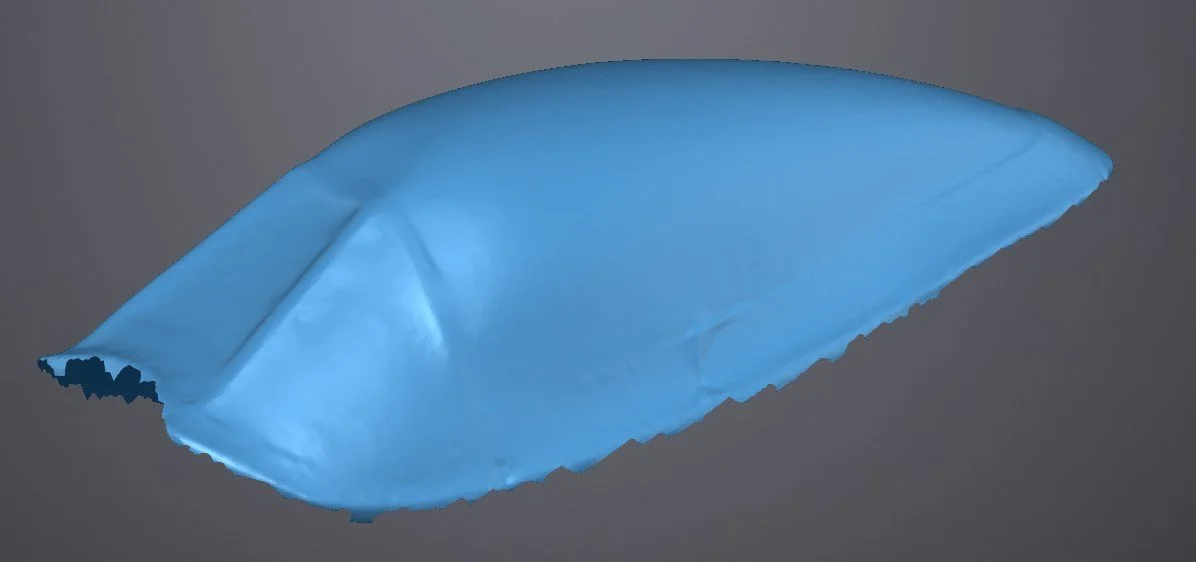
Step 4B) Triangular Mesh without Texture
The software will convert, through various filter selections, the point cloud into a triangular mesh. In this case without the surface texture mapping. Ready for use in other CAD packages.